DMA Module C 35t Quick Start Guide
Text and image guide
This guide will cover the physical installation, main and 2nd pc setup, and driver installation for the Module C 35t DMA card.
This card does not come with custom firmware.
For any firmware related information please see here.
Hardware Install
Turn off your main PC and disconnect the power cable. On the motherboard of the PC that you wish to read the memory of (main PC), locate the farthest PCIe slot away from the primary GPU slot. Alternatively, you can use the primary GPU slot itself. For this block of instruction we are going to use the furthest slot.

Install the DMA card into the PCIe slot like pictured
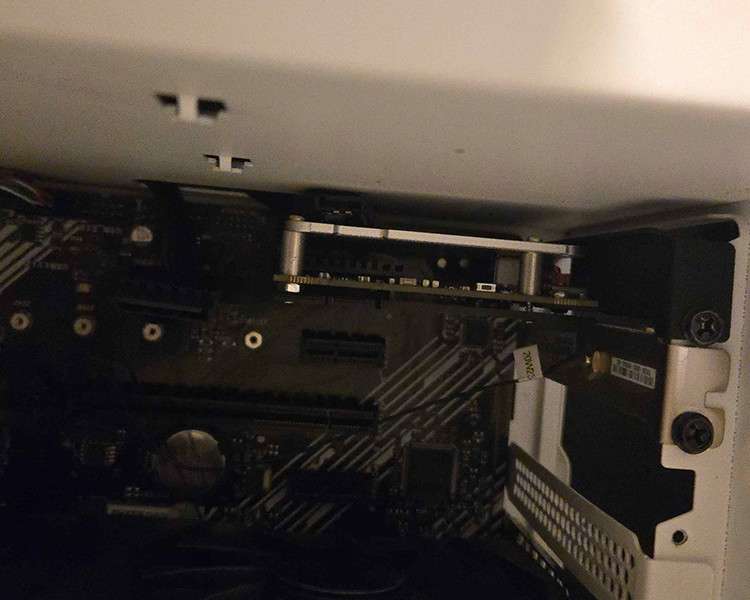
Plug your power cable back into your main PC and power it on. Plug the provided USB-C to USB-A cable into the JTAG port of the DMA card and the other end into any USB 3.0 or higher port on your second PC.
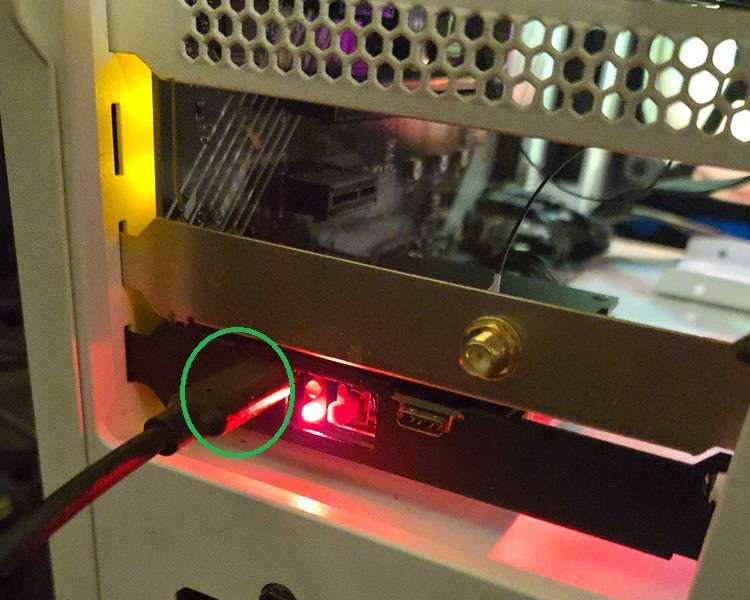
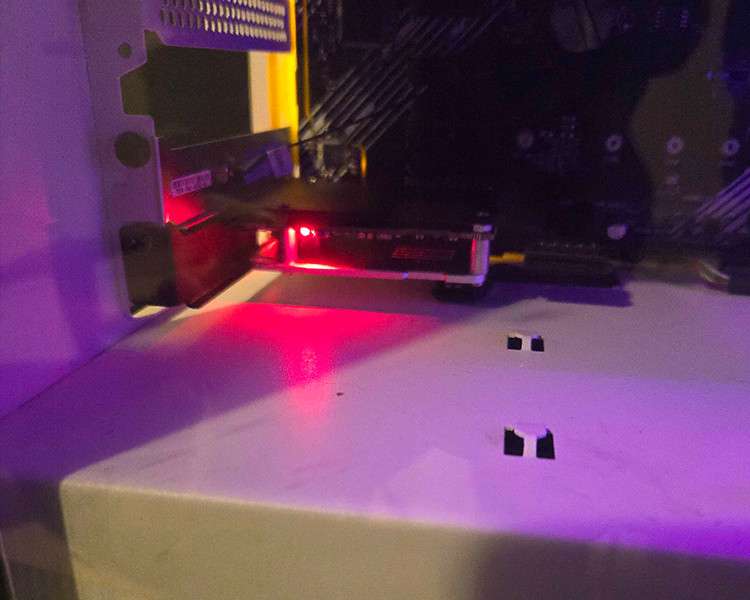
If no lights appear on your DMA card when the computer is powered on, as shown in the image below, press the kill switch button once while the computer is running to activate the DMA card.
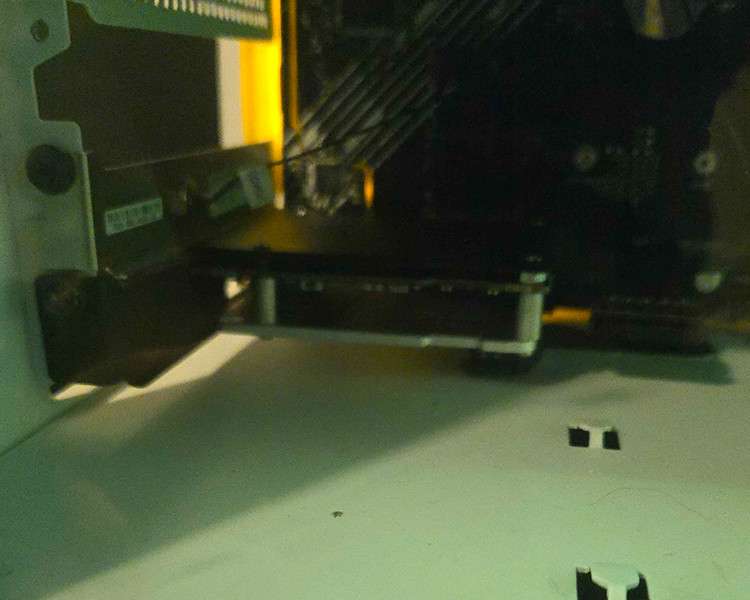
Kill switch button
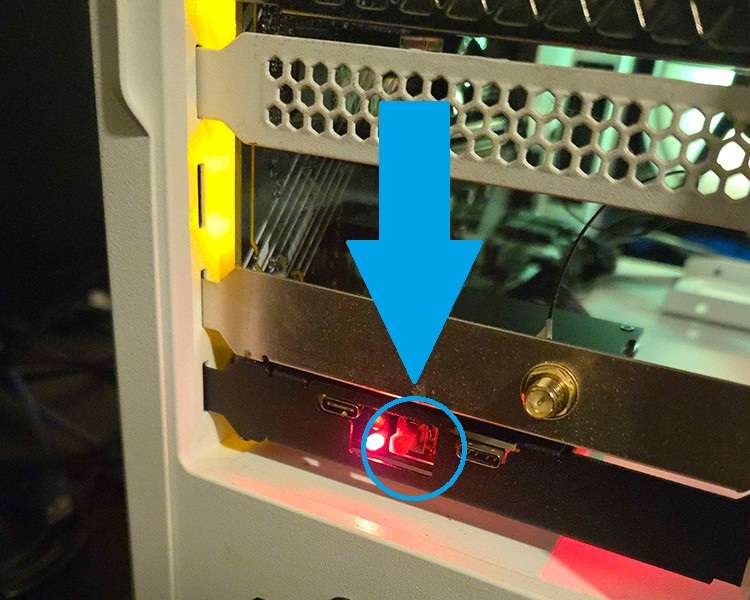
DMA card lights when powered on
BIOS Configuration
REQUIRED (AMD) Disable IOMMU
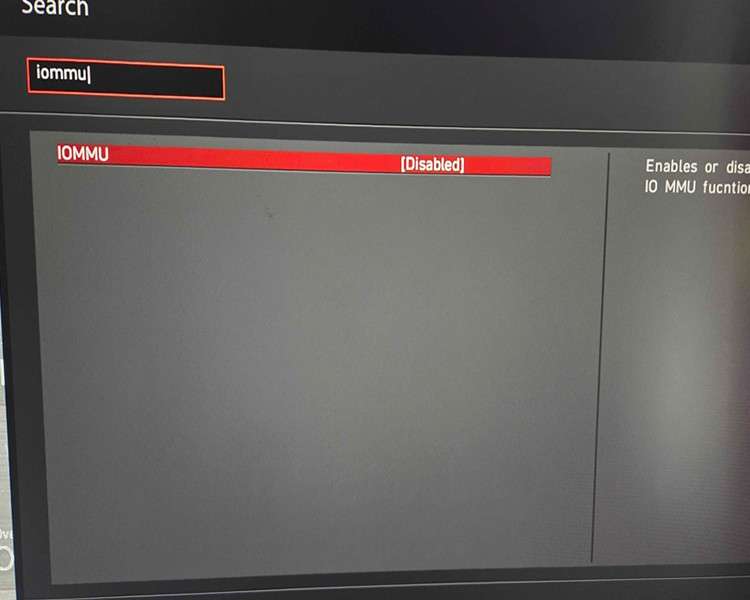
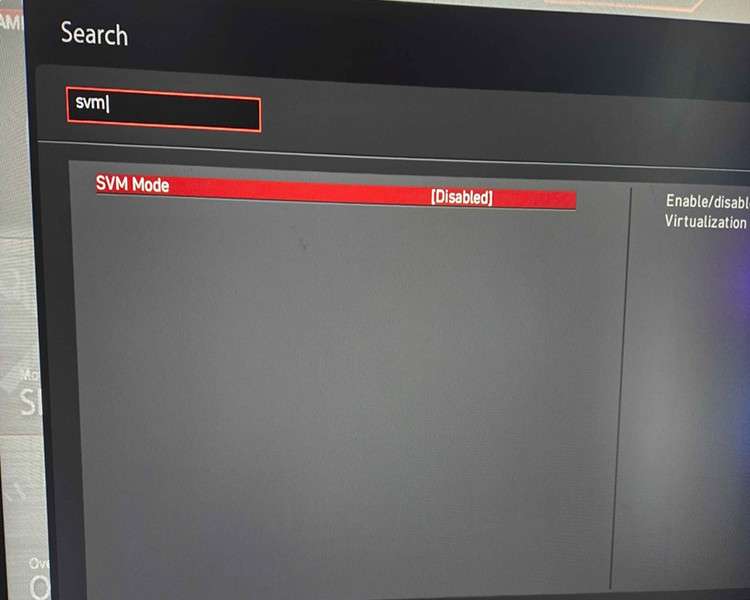
REQUIRED (AMD) Disable Virtualization & SVM
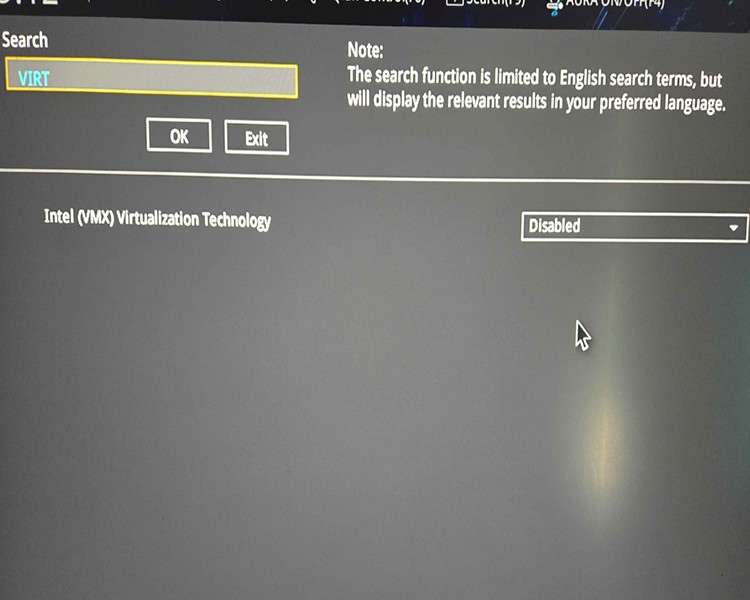
REQUIRED (INTEL) Disable Virtualization
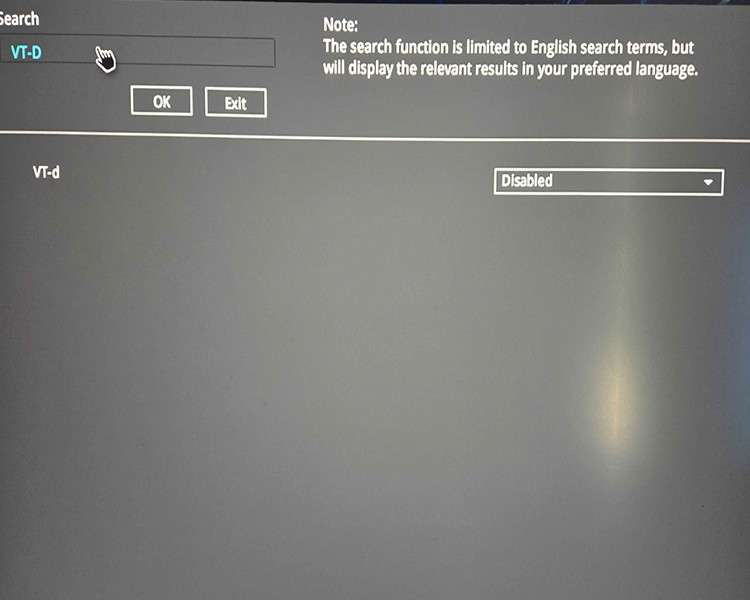
REQUIRED (INTEL) Disable VT-d
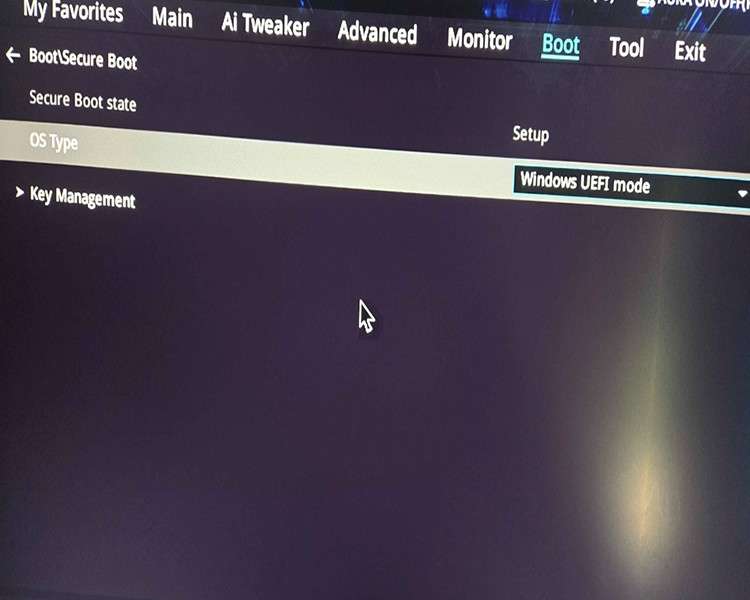
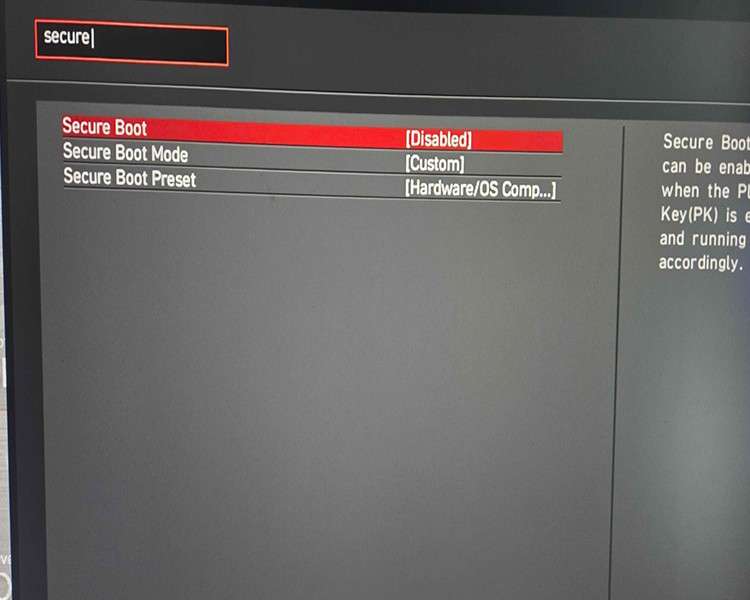
OPTIONAL (INTEL and AMD) Disable Secure Boot
More Optional BIOS Settings:
-
Disable Intel Volume Manager. (INTEL)
-
Disable Quick Start & Safe Start.
-
Disable NX-Bit / XD-bit (if available, CPU Settings Secure Virtual Machine)
-
Enable CSM* *(May help in some applications.)
-
Set PCI Slot of Card to From Auto to Gen4 (if throughput issues) or Gen1 (Advanced > PCI Settings)
Windows Pre-Requisites
There are a few settings to be changed on both the main PC and the secondary PC. Like the BIOS settings, we made all the changes for the second PC on the main PC as well. If you run into any issues it is recommended that you do the same.
Main PC Changes
(WINDOWS 11) Disable core isolation
(WINDOWS 10) Disable core isolation
Second PC Changes
Please follow the video below that goes through all the needed settings.
Driver Install
Power on both the main pc and the 2nd pc. Ensure that the USB-C to USB-A cable is plugged into the JTAG port on the DMA card and the other end into any USB 3.0 or higher port on your second PC. Download the Phoenix DMA driver kit from here. Archive password is: “phoenix”
Follow the video below on your second pc.
After rebooting your second PC, plug the USB-C to USB-A cable in the data port on your DMA card. Wait 5-10 seconds then open up device manager on your second PC. If you did everything successfully, you should see a “FTDI FT601 USB 3.0 Bridge Device” in your Universal Serial Bus Controllers section. If you do not see this or you have a yellow triangle next to your device, please reach out to us here.

Complete
You have now completed the driver installation for your Module U 75t DMA card. At this point you are ready to install firmware onto your DMA card and get started on some projects. We at Phoenix DMA LLC do not sell or distribute DMA firmware. However there are 3rd party sellers here that can assist you with this task. Thank you for shopping with us and please reach out to support with any questions!


